
Clutch Replacement DIY Feasibility & Cost Calculator
Assess whether you should tackle this job yourself or leave it to the pros.
Your Situation
Estimated Outcome
DIY Time Estimate
Pro Labor Time
Cost Breakdown
| Parts (Kit + Fluids): | £-- |
| Tool Rental (if needed): | £-- |
| Total DIY Cost: | £-- |
| Professional Quote Est: | £-- |
Recommendation
Critical Reminder
- • Always inspect the flywheel surface before installing new parts.
- • Replace the pilot bearing every time.
- • Ensure hydraulic system is fully bled to prevent early failure.
Fill out the form on the left to see your estimated costs and feasibility score.
You’re driving along, the revs climb but the speed doesn’t match. The smell of burning rubber hits your nose, and you know it: your clutch is slipping. It’s not a subtle hint; it’s a screaming demand for attention. Now comes the big question every driver faces when the warranty has long expired: can I fix this myself, or am I about to make things worse?
The short answer is no, replacing a clutch isn't "easy" in the way changing an oil filter is easy. But is it impossible for a competent home mechanic? Absolutely not. It depends entirely on your patience, your tools, and whether you have a safe place to jack up your car. Let’s break down what you’re actually getting into so you don’t buy a clutch kit only to realize you need a crane.
The Reality Check: What Makes It Hard?
Most people underestimate the physical labor involved because they see the part itself. The clutch disc and pressure plate are relatively small components. You can hold them in one hand. That’s deceptive. The difficulty lies in accessing them. In most front-wheel-drive cars, which dominate UK roads, the clutch sits between the engine and the gearbox. To get to it, you usually have to remove the entire gearbox. Think of it like trying to change the batteries in a remote control that’s glued inside a locked box.
This means disconnecting half the wiring loom, unbolting suspension arms, removing driveshafts, and often supporting the engine with a bar while you unbolt its mounts. If you’ve never dropped a subframe before, the first time will be humbling. Gravity is unforgiving, and a heavy gearbox dropping unexpectedly can crush fingers or crack a sump.
Do You Have the Right Tools?
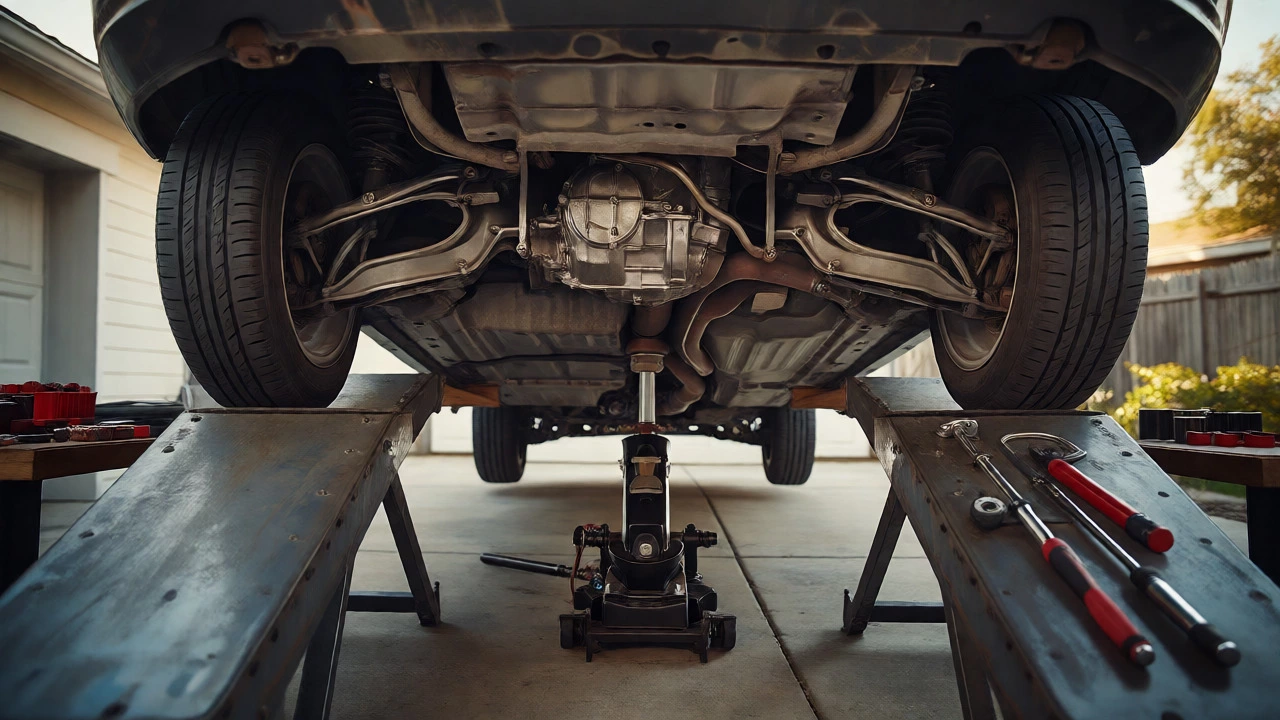
Before you even think about ordering parts, check your garage. You don’t just need a socket set. Here is the non-negotiable list:
- Transmission Jack: This is critical. You cannot safely support a gearbox with standard axle stands alone while you unbolt it. A hydraulic transmission jack allows you to raise, lower, and tilt the unit precisely. Renting one from a local tool hire shop in Manchester might cost £15-£20 for the weekend.
- Engine Support Bar: Once the rear engine mounts are removed, the engine needs to hang securely. An engine cradle or support bar prevents the engine from tilting forward and snapping hoses or exhaust manifolds.
- Torque Wrench: Clutch bolts must be torqued to specific settings. Over-tightening cracks the flywheel; under-tightening leads to vibration and failure.
- Alignment Tool: Most modern clutch kits come with one. If yours doesn’t, buy one. Trying to center the clutch disc by eye is a recipe for frustration and a pedal that sticks.
- Bleeding Kit: You will likely disturb the hydraulic line if your car uses a slave cylinder. Having a helper or a one-way valve kit ready saves hours of air-bleeding nightmares.
Step-by-Step: The General Workflow
Every car is different, but the logic remains consistent. Here is how the job typically flows:
- Preparation: Lift the car and remove the wheels. Drain the gearbox oil if required (some models leak it when you pull the shafts). Disconnect the battery.
- Disconnection: Remove the shift linkage cables, starter motor bolts, and any electrical connectors attached to the gearbox. On many FWD cars, you’ll need to remove the top radiator hose or fan shroud to access upper bell housing bolts.
- Suspension and Shafts: Unbolt the ball joints or tie rods to free the hub assembly. Pull the CV joints out of the gearbox. This is often the messiest part-expect oil everywhere.
- Support and Unbolt: Place the transmission jack under the gearbox. Remove the crossmember/subframe. Then, remove the rear engine mount. Finally, unbolt the bell housing bolts connecting the gearbox to the engine block.
- Removal: With the jack supporting the weight, carefully wiggle the gearbox away from the engine. Lower it slowly. Inspect the old clutch face and flywheel surface for scoring or heat spots.
- Installation: Clean the pilot bearing area. Install the new release bearing. Use the alignment tool to center the new clutch disc against the flywheel. Bolt the pressure plate in a star pattern. Torque to spec.
- Reassembly: Reverse the process. Refill gearbox oil if drained. Bleed the hydraulic system thoroughly. Test drive gently before committing to full power.
Cost Comparison: DIY vs. Professional
Why do we even consider doing this ourselves? Money. But let’s look at the real numbers. A complete Luk or Sachs clutch kit for a common Ford Focus or VW Golf typically ranges from £80 to £150. These brands are OEM suppliers, meaning they provide the exact same quality as the dealership but without the markup.
| Item | DIY Estimate (£) | Garage Estimate (£) |
|---|---|---|
| Clutch Kit Parts | 100 - 150 | 150 - 200 (markup) |
| Fluids & Consumables | 30 | Included |
| Labor (4-6 hours) | 0 (Your time) | 300 - 500 |
| Total Estimated Cost | 130 - 180 | 450 - 700+ |
The savings are obvious. However, factor in the risk. If you strip a bolt or damage a sensor, you add cost and delay. For many, paying the extra £300 is worth the guarantee that the job is done right and covered by a warranty.
Common Pitfalls to Avoid
I’ve seen more DIY clutch jobs fail due to simple oversights than complex mechanical errors. Here are the traps:
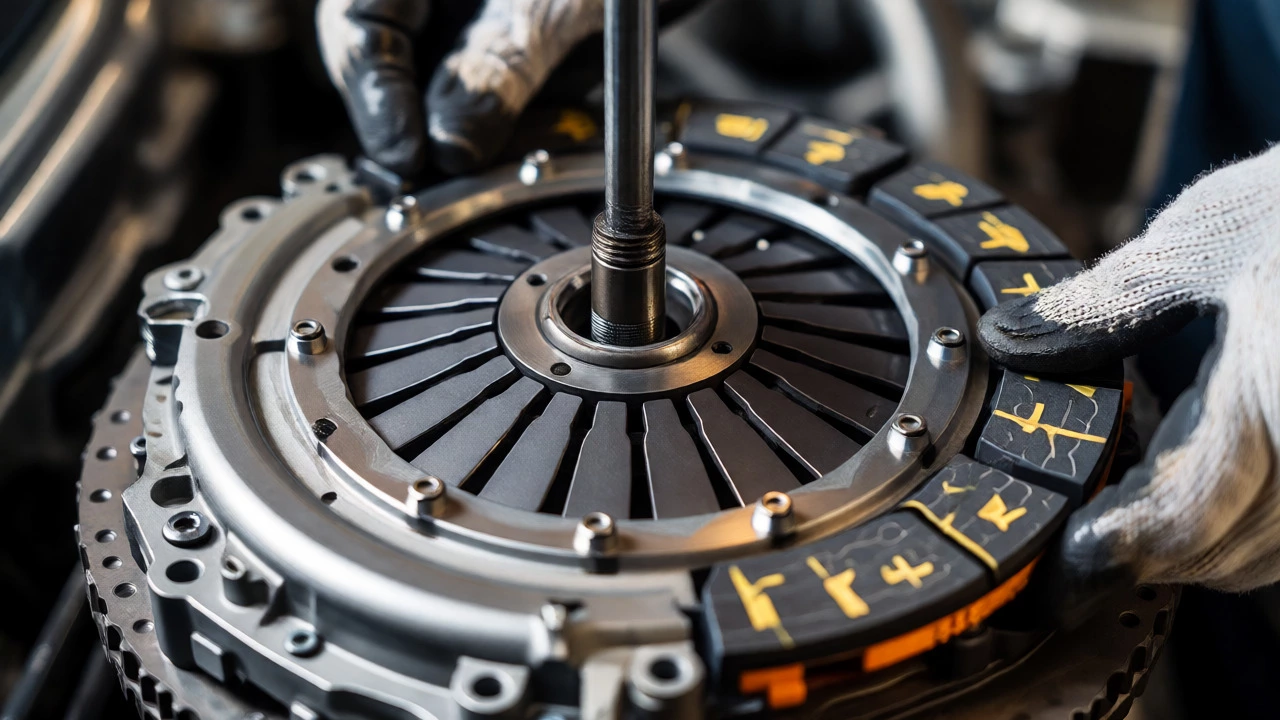
- Skipping the Flywheel Resurfacing: If your old flywheel has deep grooves or blue heat spots, a new clutch won’t grip properly. You either resurface it at a machine shop or replace it with a dual-mass flywheel (DMF) if equipped. Don’t ignore this.
- Forgetting the Pilot Bearing: It’s tiny, cheap, and often overlooked. If it seizes, the input shaft won’t spin freely, making gear changes harsh and noisy. Always replace it.
- Grease on the Friction Surface: When installing the clutch disc, ensure the friction material stays clean. Fingerprints with grease or oil will cause slipping later. Handle it by the edges.
- Improper Bleeding: Air in the hydraulic line causes a spongy pedal. If the pedal doesn’t return fully, you’ll burn out the new clutch immediately. Bleed until the fluid runs clear and bubble-free.
When to Call a Pro
Be honest with yourself. If you lack a safe way to lift the car (no ramps, no pit), skip it. If your car has a dual-mass flywheel, consider professional help unless you have experience with DMFs-they are heavier and require precise torque sequences. Also, if you’re uncomfortable working under a vehicle supported only by jack stands, hire someone. Safety beats pride every time.
Replacing a clutch is a rite of passage for DIY mechanics. It teaches you patience, spatial awareness, and respect for engineering tolerances. If you have the space, the tools, and the weekend, it’s a satisfying challenge. If you value your time and want zero stress, hand over the keys and pay the labor fee. Both choices are valid; just make sure you choose the one that matches your skill level.
How long does it take to replace a clutch?
For a professional mechanic, it typically takes 4 to 6 hours. For a first-time DIYer, expect 8 to 12 hours, spread over a weekend. Complex setups with all-wheel drive or transverse engines can take significantly longer due to additional disassembly requirements.
Can I drive with a slipping clutch?
You can drive short distances, but it’s risky. Slipping generates excessive heat, which can warp the flywheel and damage the pressure plate. If the clutch fails completely, you may lose the ability to engage gears, leaving you stranded. Limit driving to essential trips and avoid high-revving situations.
Do I need to replace the flywheel?
Not always. Inspect the flywheel surface. If it’s smooth and free of hot spots or deep grooves, you can reuse it. However, if you have a dual-mass flywheel (common in diesel cars), it’s often recommended to replace it alongside the clutch because internal springs wear out and cause vibrations.
What happens if the clutch alignment tool is missing?
Without proper alignment, the clutch disc won’t center correctly. The gearbox input shaft may not slide into the pilot bearing, preventing reassembly. Even if it fits, misalignment causes uneven wear and premature failure. Never attempt installation without ensuring the disc is perfectly centered.
Is it cheaper to buy a used gearbox instead of repairing the clutch?
Rarely. A used gearbox carries unknown mileage and condition risks. Replacing the clutch involves only the friction components. Unless the gearbox bearings or synchros are also failed, a clutch kit is far more cost-effective and reliable than swapping the entire transmission unit.