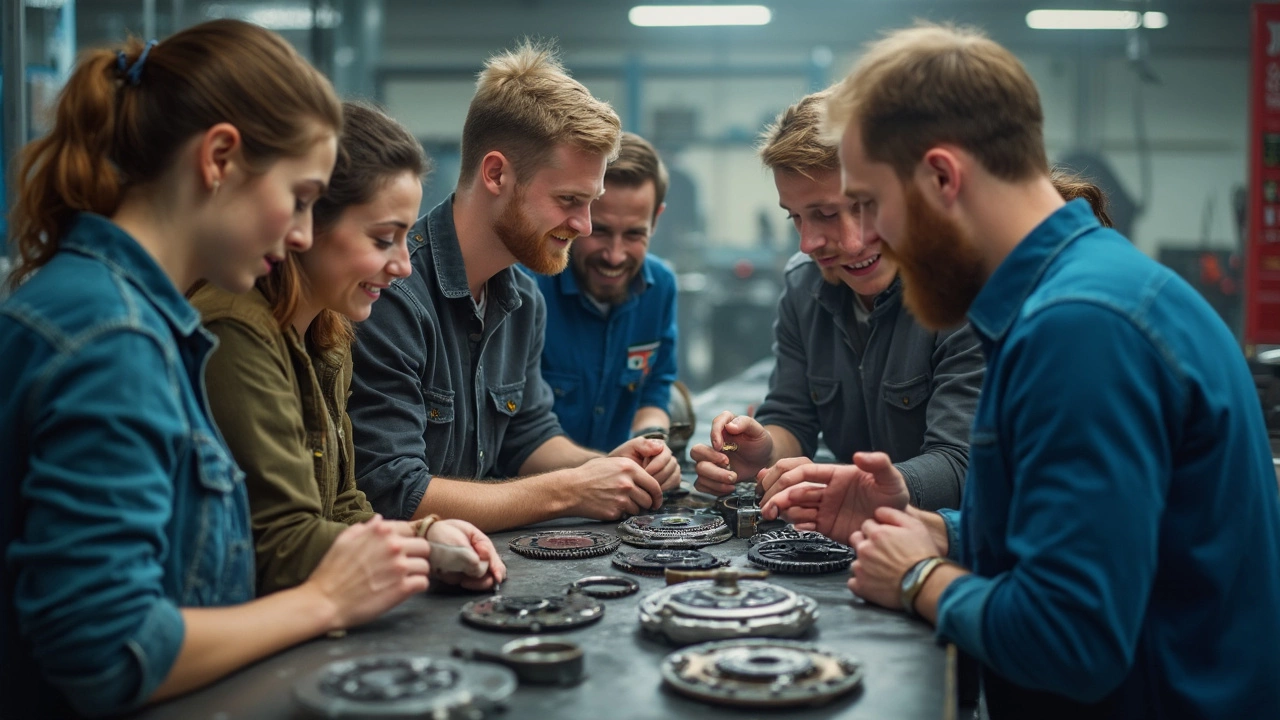
Alright, let's cut to the chase—replacing a clutch isn't exactly a walk in the park. It's one of those tasks that makes even seasoned DIYers think twice. Why? Because it involves a heap of technical stuff, some muscle, and a good chunk of your time. But if you're game to tackle it, there's no better way to get to know your car up close and personal.
First things first, understand what the clutch actually does. Simply put, it connects and disconnects the engine from the wheels, allowing you to change gears smoothly. Over time, all that friction wears it out, and that's when you need to pop in a new one.
Now, let's talk gear. You can't dive in with just a basic wrench set—oh no. You'll need something heftier. Think jack stands, a transmission jack, and maybe some specialty tools depending on your car model. Sounds like a lot? Trust me, it's doable, but preparation is key.
- Understanding the Clutch System
- Tools and Gear You Need
- Step-by-Step Clutch Replacement
- Common Pitfalls to Avoid
- When to Call a Professional
Understanding the Clutch System
Alright, let's peel back the layers and understand what makes a clutch tick. It's like the unsung hero of your car, working its magic every time you shift gears. But how does it really function?
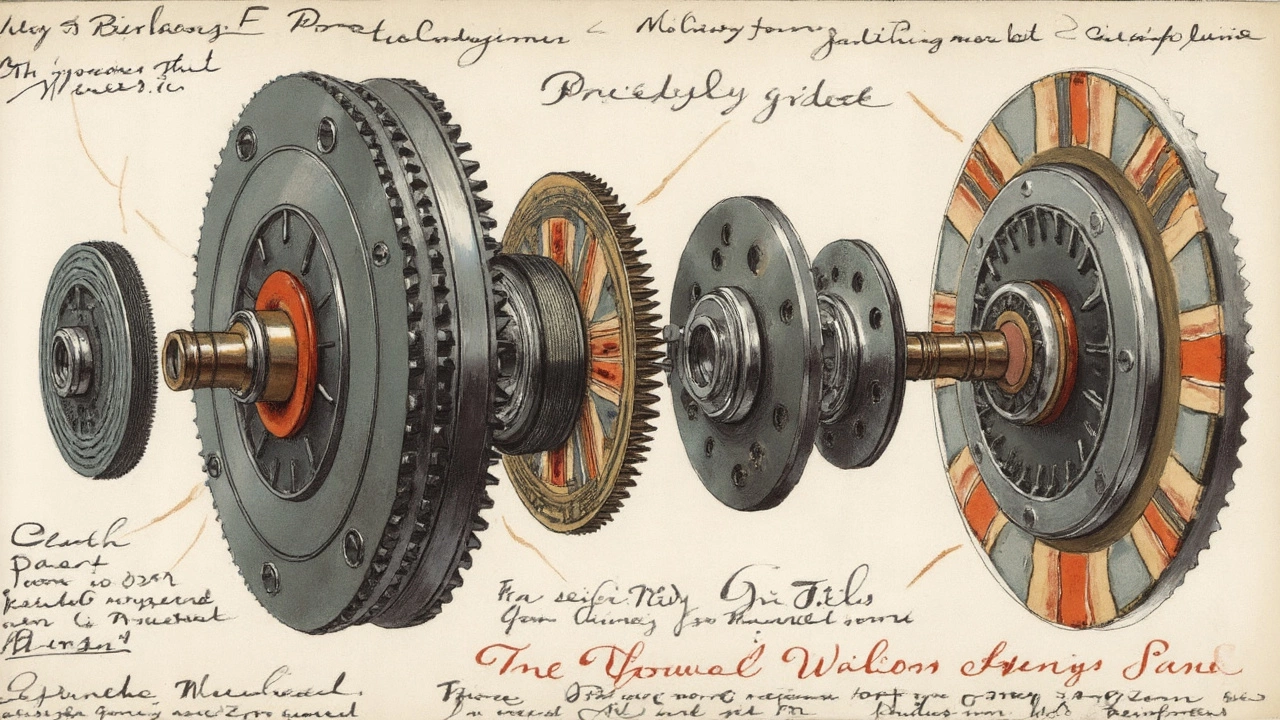
The clutch system primarily consists of three main parts: the clutch disc, the pressure plate, and the flywheel. Picture the clutch disc as the mediator between the engine and your car's wheels. When you press down on the clutch pedal, the pressure plate releases its grip on the clutch disc, disengaging the engine from the transmission. This lets you shift gears smoothly.
Now, the flywheel, typically made from steel or cast iron, is attached to the engine and spins along with it. The clutch disc rests between the flywheel and the pressure plate. When the clutch is engaged, the pressure plate clamps the disc to the flywheel, transferring power from the engine to the wheels. It's all about friction and precision.
Here's a little tidbit: Did you know that a car’s clutch typically lasts anywhere from 60,000 to 100,000 miles? Sometimes even longer if you're easy on it. Of course, this depends on driving habits and conditions.
| Component | Function |
|---|---|
| Clutch Disc | Transfers power between the engine and transmission. |
| Pressure Plate | Applies force to the clutch disc to engage the engine. |
| Flywheel | Spins with the engine and stores rotational energy. |
Understanding these components and how they work together is crucial, especially if you're thinking about doing a clutch replacement yourself. It's not just about knowing what parts to swap out; it's about appreciating the intricate dance they perform to keep your ride smooth.
Tools and Gear You Need
Diving into a clutch replacement isn't just about elbow grease—it's about having the right tools at your disposal. Think of it this way: You're crafting a gourmet meal, not microwaving leftovers. You need a solid prep station. Here's what you'll need to gather before you start wrenching away.
First off, a sturdy floor jack is non-negotiable. You’ll need it to elevate your car safely. Pair it with jack stands to keep things rock-solid. Safety's the name of the game, folks.
Next, a transmission jack will be your best mate. Your back will thank you when you're not muscling the heavy gearbox around. It's like hiring a buddy who's got your back, literally.
The usual suspects like a wrench set, screwdrivers, and socket sets are must-haves. But don't skim over the specifics. Here’s a more detailed checklist:
- Wrench Set: Adjustable and open end wrenches for various nuts and bolts.
- Socket Set: Deep and standard sockets with a ratchet handle.
- Clutch Alignment Tool: Ensures the new clutch is lined up perfectly.
- Brake Cleaner: To make sure no oil or grease messes up the new clutch.
- Transmission Fluid: You'll need to top it off once everything’s back in place.
- Pry Bar: Handy for nudging off stubborn parts.
If you're a data geek, here's a quick peek at the cost breakdown for some of these tools:
| Tool | Average Cost (USD) |
|---|---|
| Floor Jack | $50 - $150 |
| Transmission Jack | $100 - $300 |
| Clutch Alignment Tool | $10 - $30 |
Preparation pays off, so double-check that toolkit before you go jacking cars up in the driveway. Missing a tool halfway through won't just throw a wrench in your schedule but might lead to some colorful language, not suitable for younger audiences. Make your life easier by setting up everything you’ll need within arm’s reach. You’ll thank yourself later when you're deep into the process and low on patience.
Step-by-Step Clutch Replacement
Alright, so you're ready to take the plunge into the world of clutch replacement. Let's break it down step by step, so you don't miss a beat.
- Prep Your Space: Start by securing a good working space. You'll need a garage or driveway that's flat and solid. Make sure your car is cool and access to tools is unhindered.
- Safety First: Jack up your car and secure it on jack stands. Be sure the vehicle is stable and isn't going anywhere before you get under it.
- Remove the Old Clutch: You'll need to disconnect the battery first. Then, get under the car and remove the drive shaft, and unbolt the transmission. Make sure you keep your bolts organized! Once the transmission is out of the way, you can unbolt the pressure plate and take out the old clutch.
- Inspect Everything: Before popping in the new clutch kit, inspect the flywheel, throwout bearing, and other components for wear or damage.
- Install the New Clutch: Center the new clutch disk on the flywheel and secure the pressure plate. A little trick is to use a clutch alignment tool to make sure everything lines up nicely. Tighten the bolts in a star pattern to ensure even distribution of pressure.
- Reassemble: With the new clutch in place, it's time to put everything back together. Reattach the transmission, reinstall the drive shaft, and reconnect the battery.
This might all sound a bit intimidating, but take your time. Rushing through a car maintenance job like this will only lead to headaches. Don't forget to check out some online tutorials as well; sometimes a visual guide can make a world of difference.
Here's a quick peek at what a clutch kit typically includes:
| Component | Description |
|---|---|
| Clutch Disc | Connects to the flywheel; engages and disengages power from engine to transmission. |
| Pressure Plate | Holds the clutch disc against the flywheel. |
| Throwout Bearing | Engages with the pressure plate to disengage the clutch disc. |
Remember, a successful DIY clutch replacement saves a big chunk of cash, but if you feel unsure at any step, it's okay to call in a pro. Whatever you choose, may the clutch force be with you!
Common Pitfalls to Avoid
Diving into a clutch replacement without knowing the traps ahead is like playing a video game on hard mode right off the bat. So, what do folks often trip over?
First up, forgetting to check the entire clutch kit. It's not just the clutch plate you need to worry about. The pressure plate and release bearing should get attention too. Ignoring these might mean you’ll be pulling everything apart sooner than you'd like.
"A worn release bearing can undermine the entire replacement, leading to noise and premature wear," explains car maintenance guru, Alex Turner.
Another classic mistake is not aligning the clutch disc properly. It takes some careful eyeballing and a special tool—alignment here is key if you want that smooth ride later.
Let’s not forget about torque settings. Bolts need precise tension. Over-tighten them, and you’re in for a nasty surprise with stripped threads or broken bolts.
- Always cross-check with the car’s manual for torque specs.
- Double-check the hydraulics—any air in those lines will mess with your clutch's feel.
- Inspect for oil leaks. A slick disc isn’t going to do its job right and will wear down faster.
Lastly, rushing the reassembly process is a no-no. Take your time. Missing a washer or misrouting wires can cause all sorts of headaches down the road.
If you're second-guessing your work, remember it's okay to call a pro. Sometimes, it's worth spending a little extra to save a ton in the long run. Clutch repairs can get tricky, and there’s no shame in leaning on expertise when needed!
When to Call a Professional
So you’ve looked at the mountain of work involved in a clutch replacement and thought, "Maybe I should get some experienced hands on this." That’s perfectly fine—knowing when to call in a pro is a skill in itself. Let me break down when it might be smart to hang up your DIY hat for a moment.
If you're dealing with a modern car that’s packed with electronic components, things can get tricky fast. Some newer vehicles have super tight engine bays where accessing the clutch might mean removing a host of other parts, and that’s no small feat. Without the right tools or mechanical knowledge, you could end up in a pickle.
And let’s be honest—if you’re not comfortable with the sight of transmission fluids or you get squeamish around complex mechanisms, calling a professional might be the way to go. They’ll have the know-how and specialized tools to make the job look easy.
In terms of time, if you can’t afford to have your car off the road for more than a weekend, consider a mechanic. What takes them a few hours to sort out could leave you out of action for days if you hit a snag. They’ve got the experience to troubleshoot any unexpected hiccups that might pop up.
Finally, consider the warranty aspect. Some clutch kits might demand professional installation for the warranty to be valid. If that's the case, going professional is not just a preference but a necessity. It's better to be safe than sorry, especially if the part fails afterward.
Ultimately, calling a professional is like investing in insurance—you get peace of mind knowing that the job’s been done right and your car is in capable hands without the risk of trial and error.