Radiator Replacement Estimator
Not sure if you should tackle this job yourself? Select your vehicle profile to see estimated difficulty, time commitment, and potential savings.
Vehicle Profile
Select options and click "Analyze Job" to see results.
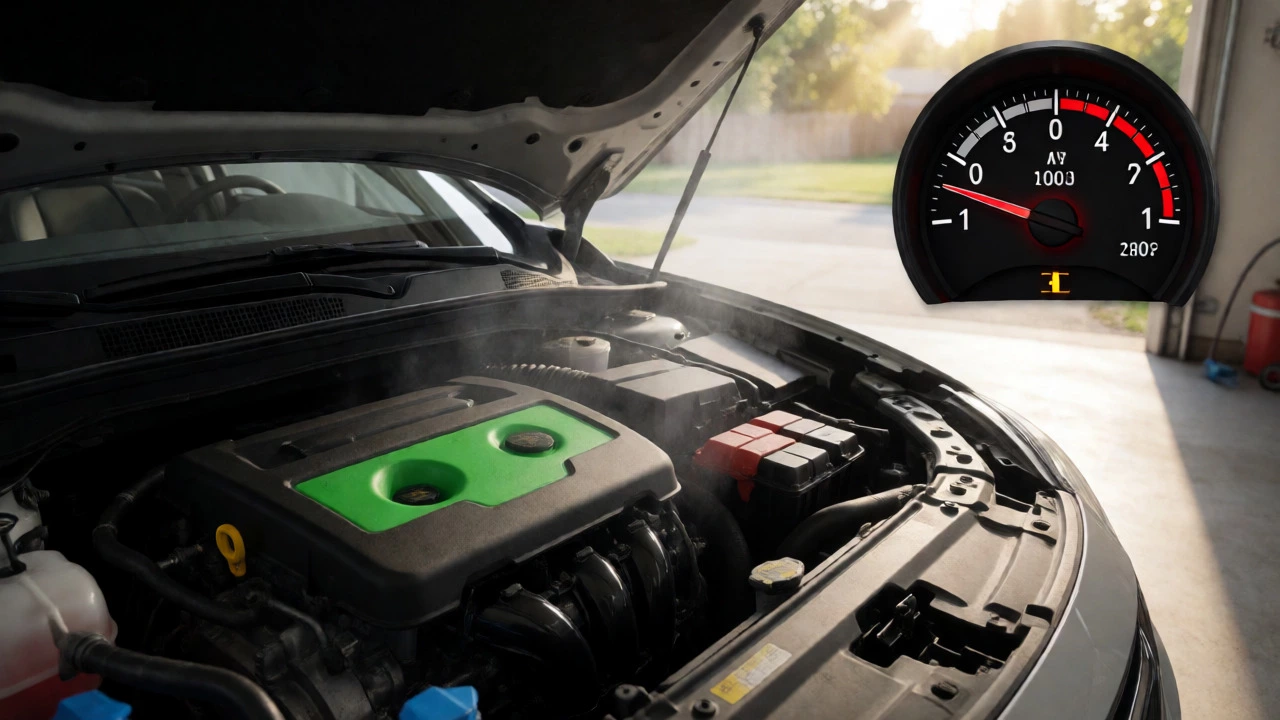
You're staring at a puddle of green or orange fluid under your hood. The temperature gauge is climbing. Your mechanic quotes you $600 for a radiator replacement including labor and parts. You think, "How hard can it be to swap one metal box for another?"
Here is the brutal truth: changing a radiator is physically possible for most people with basic tools, but it is rarely "easy." It sits in the middle ground between changing an oil filter (easy) and replacing a transmission (hard). The difficulty depends entirely on your specific vehicle, not just your wrench skills.
The Real Difficulty Scale
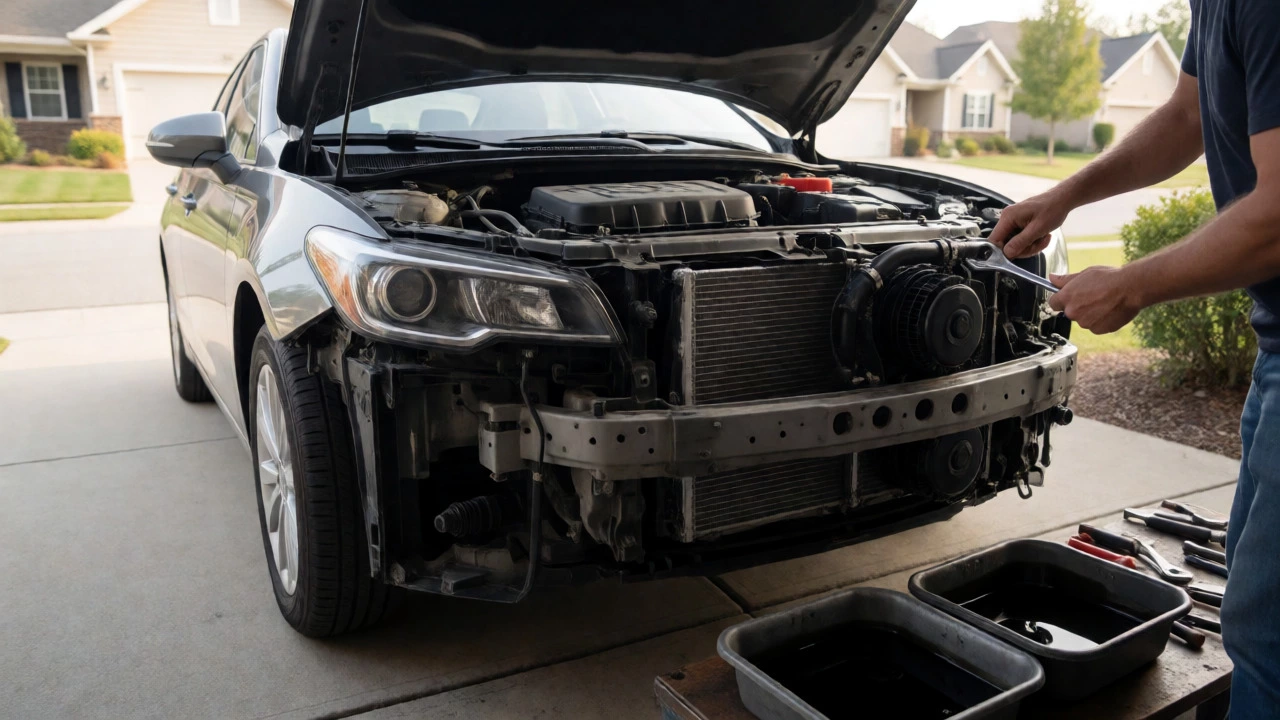
Why does this job vary so much? Because car manufacturers hide radiators differently. In older cars like a 1995 Toyota Corolla, the radiator is exposed, accessible from the front, and held by two bolts. In modern vehicles like a 2024 Honda Civic or a BMW F30, the radiator might be tucked behind the bumper cover, requiring you to remove plastic shrouds, fan assemblies, and sometimes even the headlights.
If you have to remove the front bumper to access the radiator, add three hours to your estimate. If the coolant lines are quick-connect fittings that require special release tools, add frustration. If they are old rubber hoses clamped with rusted worm-gear clamps, add broken knuckles.
| Vehicle Age/Type | Access Level | Estimated Time (DIY) | Skill Required |
|---|---|---|---|
| Pre-2000s Sedans | Direct Front Access | 1 - 2 Hours | Beginner |
| Modern Economy Cars (e.g., Ford Focus) | Bumper Removal Often Needed | 3 - 4 Hours | Intermediate |
| Luxury/European (e.g., Audi, BMW) | Complex Shrouds/Fan Removal | 4 - 6 Hours | Advanced |
| Crossovers/SUVs | High Mounting Points | 2 - 3 Hours | Intermediate |
Before You Turn a Wrench: The Prep Work
Most DIY disasters happen before the first bolt is turned. You cannot just buy a radiator and hope it fits. Modern cooling systems are integrated with transmission coolers, air conditioning condensers, and electric fans.
- Verify the Part Number: Don't trust the year alone. A 2015 model year might use different parts than a 2016 model year due to mid-cycle refreshes. Use your VIN when ordering.
- Check for Integrated Transmission Coolers: Many automatic transmissions have cooler lines running directly into the bottom of the radiator. If you miss these, you will leak transmission fluid everywhere.
- Inspect the Fans: While the radiator is out, check the electric fan motors. They are cheap now; expensive later if they fail while you're already in there.
You also need the right coolant chemical mixture specifically formulated for aluminum engines. Using the wrong type (like mixing green IAT with orange OAT) can cause gelling, which clogs your new radiator immediately. Always drain the old coolant completely. It is toxic to pets and children, so plan for proper disposal.
Step-by-Step: The Actual Swap
Assuming you have cleared the access panel or removed the bumper, here is the logical flow. Do not rush this. One stripped thread can turn a $100 job into a $500 tow bill.
- Drain the System: Place a drain pan under the lowest point of the radiator or engine block. Open the petcock valve if equipped, or loosen the lower hose clamp. Squeeze the upper hose gently to force remaining coolant out.
- Disconnect Hoses: Loosen the clamps on the upper and lower radiator hoses. Twist the hose slightly to break the seal before pulling it off. Be prepared for residual drip.
- Remove Transmission Lines (if applicable): Use flare-nut wrenches or line disconnect pliers. Cap the lines immediately with clean rags to prevent dirt entry and fluid loss.
- Unbolt the Radiator: Remove the mounting brackets. Note their orientation-some are left-hand thread or have specific washers. Lift the radiator straight up. Watch out for the AC condenser lines if they are mounted in front; do not pull them taut.
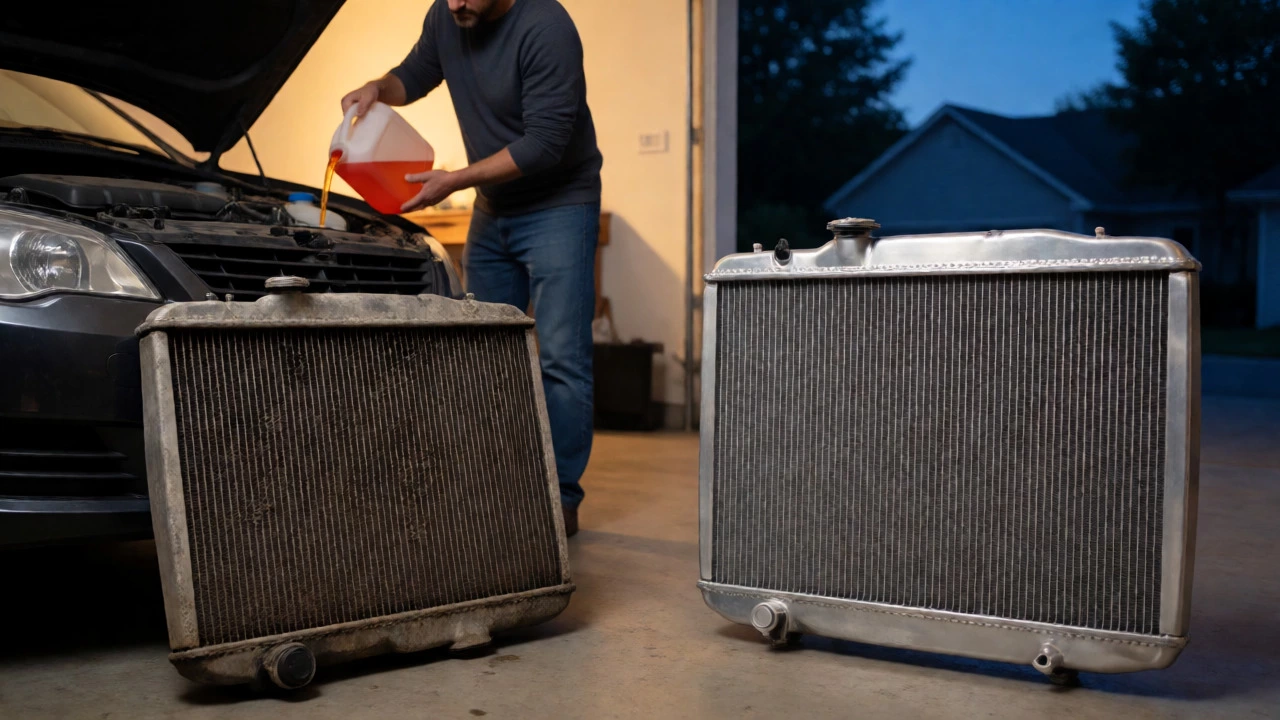
- Install the New Unit: Compare the old and new radiators side-by-side. Ensure the drain plug location matches. Install mounting bolts loosely first, then tighten once aligned. Connect hoses and transmission lines.
- Refill and Bleed: Fill with the correct coolant mix until full. Start the engine with the cap off. Let it reach operating temperature. The thermostat must open to allow coolant circulation. Top off as the level drops.
The bleeding process is where most beginners fail. Air pockets in the system create hot spots that can warp your cylinder head. Some cars have bleed screws on the thermostat housing or heater core lines. Others require a vacuum fill tool. If your car has no bleed screws, you may need to rev the engine gently while topping off to purge air.
Common Pitfalls That Ruin DIY Jobs
I've seen countless attempts at this job go sideways. Here are the specific traps to avoid:
- Stripped Plastic Tabs: Modern radiators often mount via plastic tabs rather than metal brackets. These become brittle with heat cycles. Pry carefully with a flathead screwdriver wrapped in tape, or use a specialized trim tool.
- Cross-Threading Bolts: Aluminum engine blocks and radiator supports strip easily. Always start bolts by hand. If it resists, back it out. Never force it.
- Forgetting the Thermostat: If your old radiator was leaking because of high pressure, the thermostat might be stuck closed. Replacing the radiator without checking the thermostat is like mopping the floor while the tap is running.
- Leaking Heater Core Lines: Sometimes the small hoses going to the cabin heater get disconnected accidentally. If you lose coolant but don't see a leak outside, check the firewall area.
Cost-Benefit Analysis: DIY vs. Pro
Let's look at the numbers. This isn't just about saving money; it's about risk management.
| Expense Category | DIY Cost Estimate | Professional Shop Estimate |
|---|---|---|
| Radiator Part | $80 - $250 | $150 - $400 (Markup included) |
| Coolant (2 Gallons) | $20 - $40 | Included in Labor |
| Labor/Time Value | 3-5 Hours (Your Time) | $150 - $300 |
| Total Estimated Cost | $100 - $290 | $300 - $700+ |
| Risk Factor | High (If inexperienced) | Low (Warranty included) |
You save roughly 50% doing it yourself. But consider this: if you crack a transmission line fitting or strip a mounting hole, you might spend more fixing your mistake than the original labor would have cost. For complex European cars, the labor markup often reflects the genuine complexity of accessing the part. For Japanese economy cars, the savings are usually worth the effort.
When to Call a Mechanic
Don't let pride sink your ship. Call a pro if:
- Your vehicle requires removal of the front bumper cover and you don't have a service manual showing hidden clips.
- The cooling system uses pressurized quick-connect fittings that snap unexpectedly.
- You notice signs of blown head gasket (white smoke, milky oil) alongside the radiator leak. A new radiator won't fix internal engine damage.
- You lack a way to properly dispose of used coolant.
Changing a radiator is a satisfying weekend project if you respect the complexity of modern engineering. It teaches you how your cooling loop works. But if you hit a seized bolt or a mystery connector, pause. Research takes ten minutes; towing costs hundreds.
Can I drive my car with a bad radiator?
You should not drive with a leaking or cracked radiator. Even a small leak causes rapid coolant loss. Once the coolant level drops below the pump intake, air enters the system, causing immediate overheating. This can warp the cylinder head within minutes, turning a $100 repair into a $2,000 engine rebuild.
Do I need to replace the water pump when changing the radiator?
Not necessarily, but it is often recommended if the water pump is driven by the timing belt and is located near the radiator. If the pump shows signs of weeping or noise, replacing it while the system is drained saves future labor. However, if the pump is intact and recently serviced, you can skip it.
How long does a new radiator last?
A quality aftermarket or OEM radiator typically lasts 8 to 10 years or 100,000 miles. Lifespan depends heavily on using the correct coolant type and maintaining proper pH levels. Neglecting coolant flushes leads to internal corrosion and clogging, significantly shortening its life.
What happens if I mix different types of coolant?
Mixing incompatible coolants (e.g., silicate-based green with organic acid technology orange) can cause chemical reactions that form sludge or gel. This blocks narrow radiator passages and heater cores, leading to poor heating and potential overheating. Always flush the system thoroughly if switching coolant types.
Is it cheaper to repair or replace a radiator?
Replacement is almost always cheaper and more reliable. Radiator repairs (epoxy patches or soldering) are temporary fixes for minor leaks. Given the low cost of aftermarket radiators ($80-$150), the labor time to disassemble for a repair often exceeds the cost of a new unit. Repair only if you are stranded and need a temporary fix to get home.