Radiator Replacement Cost & Time Estimator
Estimated Breakdown
* Estimates based on average UK market rates (2026). Actual costs vary by location and specific vehicle model.
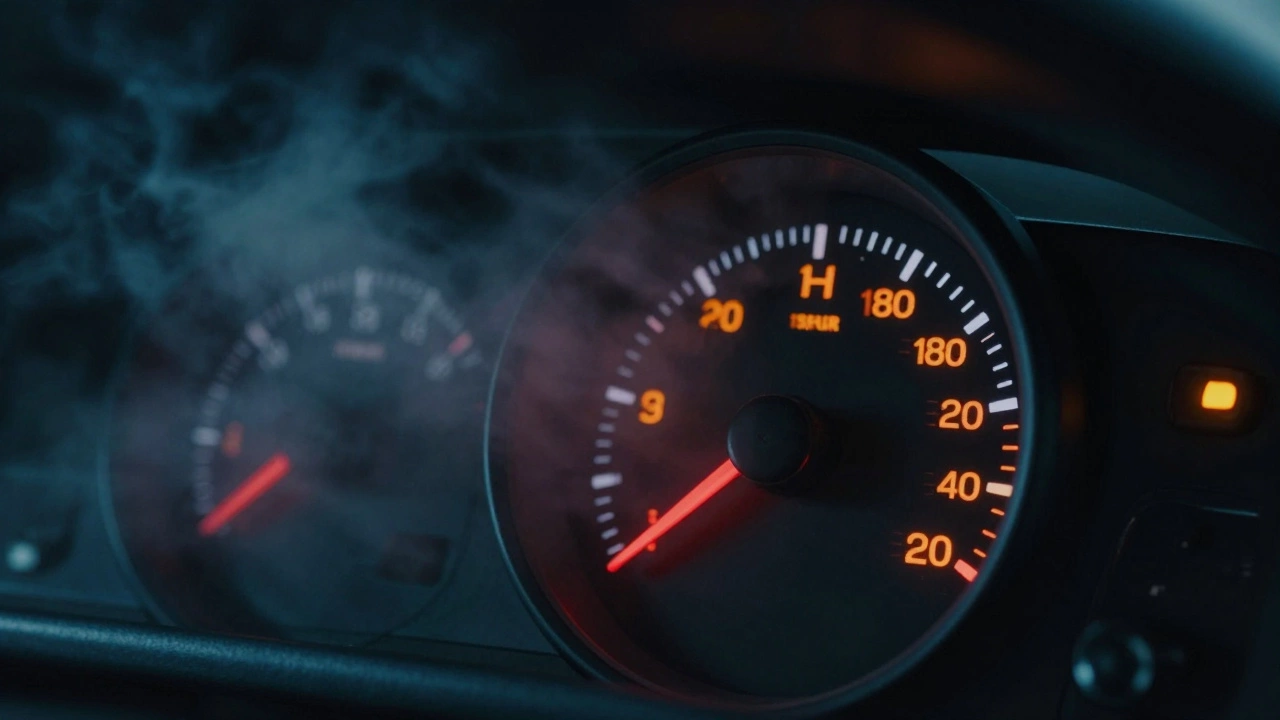
Staring at a temperature gauge that’s creeping into the red zone is stressful. You pull over, the steam clears, and you realize your car isn’t just hot-it’s overheating because the radiator is likely failing. The immediate question on every driver’s mind is simple: how many days does it take to replace a radiator? The short answer? It usually takes less than one day. In most cases, you can drive away with a fixed engine cooling system within 2 to 4 hours.
However, "how long" depends heavily on whether you’re doing it yourself in your driveway or dropping the car off at a mechanic’s shop in Manchester. There are variables like parts availability, vehicle complexity, and hidden corrosion that can stretch a half-day job into a multi-day ordeal. Let’s break down exactly what influences this timeline so you aren’t left stranded waiting for your ride.
The Standard Timeline: Shop vs. DIY
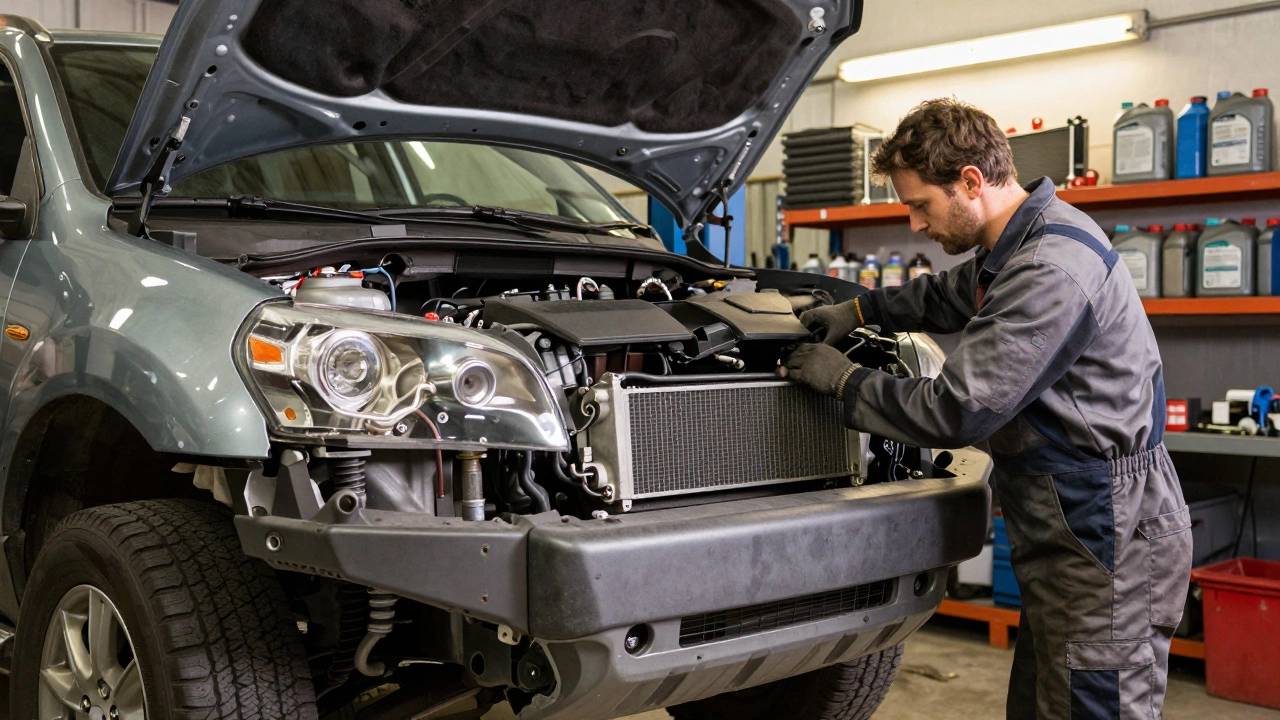
If you take your car to a professional garage, the physical labor to swap out a standard passenger car radiator typically takes between 1.5 to 3 hours. This assumes the mechanic has the correct replacement part in stock. If they need to order it, add another 24 to 48 hours to your wait time. For complex vehicles-like modern SUVs with large grilles or sports cars with tight engine bays-the removal process can take up to 4 to 6 hours because technicians often have to remove bumpers, headlights, or even the engine mount to access the unit.
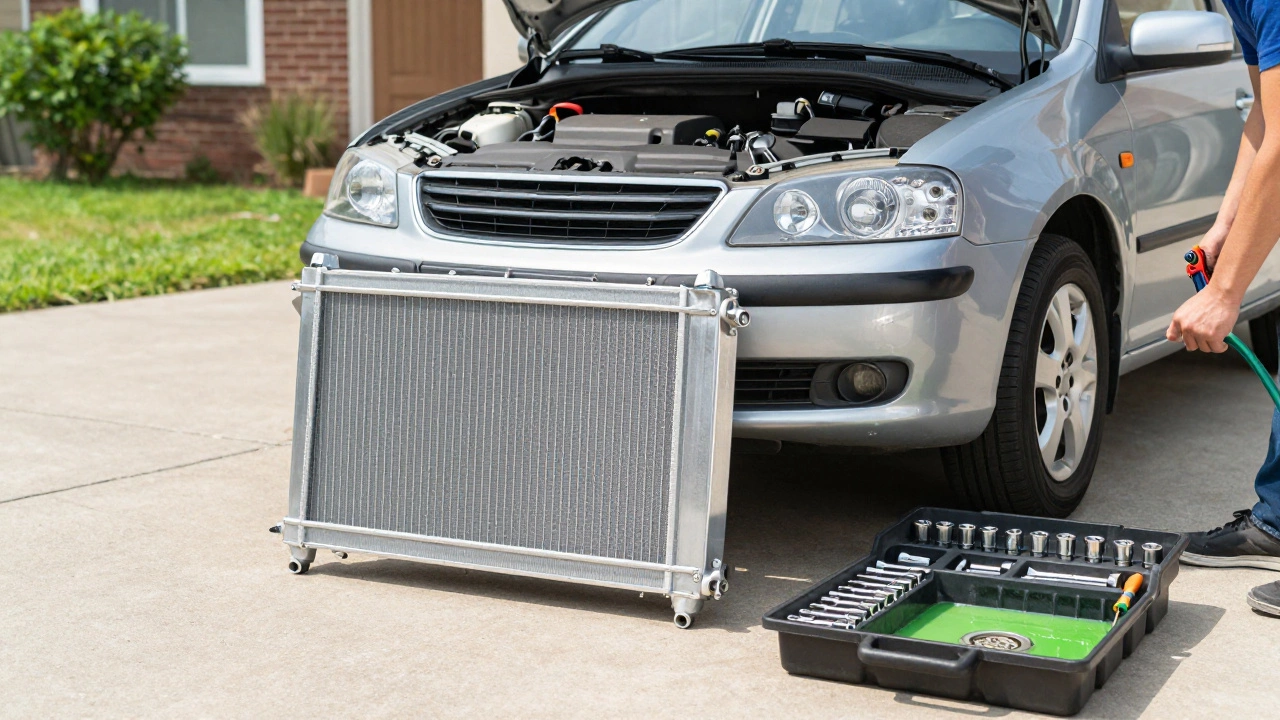
For the DIY enthusiast, the clock starts differently. If you have the right tools-a basic socket set, screwdrivers, and a drain pan-and some mechanical confidence, you can complete the job in about 3 to 5 hours on your first attempt. You’re not rushing against a shop bill, but you are fighting rusted bolts and stubborn clips. A seasoned home mechanic might knock it out in under two hours. The key difference here is preparation. If you buy the radiator without checking if it includes the necessary hoses, tanks, or fans, you’ll spend more time running to the auto parts store than working on the car.
| Scenario | Labor Time | Total Turnaround (Including Parts) |
|---|---|---|
| Standard Sedan (Professional Shop) | 1.5 - 3 hours | Same day (if in stock) or 1-2 days |
| Complex SUV/Luxury Car (Shop) | 3 - 6 hours | 1-3 days (due to ordering/parts fitment) |
| DIY - First Timer | 3 - 5 hours | Depends on when you buy parts |
| DIY - Experienced Mechanic | 1.5 - 3 hours | Depends on when you buy parts |
Why Does It Sometimes Take Longer?
You might hear stories from friends who were without their cars for three days. Why the delay? It rarely comes down to the actual installation. The bottlenecks usually happen before the wrench even touches a bolt.
Parts Availability: Common radiators for popular models like the Ford Focus or Toyota Corolla are often kept in stock by local garages and major retailers. However, if you drive an older classic car, a niche European model, or a brand-new release, the specific cooling system component might need to be shipped from a central warehouse. In the UK, delivery times for automotive parts can range from next-day service to a week for specialized imports.
Hidden Damage: When a radiator fails, it doesn’t exist in a vacuum. If the core has corroded internally, that corrosion may have spread to the water pump, thermostat housing, or coolant hoses. A good mechanic will inspect these related components. If they find that the water pump is also leaking, they will recommend replacing it simultaneously. Since the water pump is accessed during the radiator swap, doing both jobs saves labor costs later. But this discovery adds time to the diagnosis and potentially requires ordering additional parts.
Corrosion and Rust: Older vehicles, especially those driven in areas with road salt (common in Northern England winters), suffer from seized bolts. Removing the upper and lower radiator hoses can sometimes require cutting tools if the rubber has fused to the metal fittings. Cleaning out old coolant residue and ensuring no debris falls into the engine block adds careful, slow work to the process.
Signs You Need a Replacement Soon
Don’t wait until the engine blows a head gasket due to overheating. Recognizing the early symptoms allows you to schedule the repair during normal business hours, avoiding emergency weekend rates and rushed timelines.
- Visible Leaks: Puddles of green, orange, or pink fluid under the front of your car after parking. Note that clear fluid is usually windshield washer fluid, while oily brown sludge is oil. Coolant is distinctly colored and sweet-smelling.
- Overheating Engine: The temperature warning light illuminates, or the needle climbs past the halfway mark even when idling in traffic.
- Discolored Coolant: If you check the overflow reservoir and the fluid looks rusty, muddy, or contains metallic flakes, internal corrosion is eating away at the radiator fins.
- Sludge Buildup: Thick, gel-like substance in the coolant lines indicates a breakdown of the antifreeze additives, reducing heat transfer efficiency.
Cost Breakdown: What Are You Paying For?
In the UK market as of 2026, the cost to replace a radiator varies significantly based on the source of the part and who performs the labor.
OEM vs. Aftermarket: An Original Equipment Manufacturer (OEM) radiator, which matches the exact specifications of your car factory-installed unit, typically costs between £150 and £400 depending on the vehicle. Aftermarket alternatives can be cheaper, ranging from £80 to £200, but quality varies. For critical safety components like cooling systems, sticking to reputable brands (such as Behr, Nissens, or Denso) is wise.
Labor Costs: Independent garages in cities like Manchester or Birmingham might charge £75 to £100 per hour. Main dealerships often exceed £120 per hour. Since the job takes roughly 2 hours, expect labor to add £150 to £240 to the bill.
Fluids and Disposal: Don’t forget the cost of new coolant (approx. £20-£40 for a full flush and refill) and the environmental fee for disposing of the old toxic fluid, which shops include in their service charge.
A total bill for a professional replacement usually lands between £300 and £650. Doing it yourself cuts out the labor, bringing the cost down to just the price of the part and fluids (£100-£450).
Step-by-Step: The DIY Process Simplified
If you’ve decided to tackle this yourself, here is the logical flow of the operation. Always ensure the engine is completely cold before starting. Hot coolant under pressure can cause severe burns.
- Drain the System: Place a drain pan under the radiator. Remove the drain plug at the bottom of the radiator tank, or disconnect the lower hose to let the coolant flow out. Also, open the radiator cap to allow air in and speed up draining.
- Disconnect Electrical Components: Unplug any sensors attached to the radiator, such as the temperature sensor or fan connectors. On modern cars, the electric cooling fans are often mounted directly to the radiator support; you may need to unbolt and move them aside.
- Remove Hoses and Overflow Tube: Use pliers to loosen spring clamps on the upper and lower hoses. Pull them off carefully. Disconnect the small plastic overflow tube that connects to the expansion tank.
- Unbolt the Radiator: Locate the mounting brackets at the top and bottom of the radiator. Remove the nuts or bolts securing it to the vehicle frame. Gently lift the radiator straight out. Be prepared for residual coolant dripping.
- Install the New Unit: Compare the new radiator to the old one to ensure all ports and mounts align. Lower it into place. Reattach the mounting brackets. Do not overtighten yet.
- Reconnect Hoses and Sensors:**:** Slide the hoses back on and secure the clamps. Reconnect the electrical plugs. Ensure the overflow tube is seated properly.
- Refill and Bleed:**:** Pour the recommended mix of antifreeze and distilled water into the radiator. Start the engine with the heater turned on high to help circulate the fluid and push out air pockets. Top off the fluid as the level drops in the reservoir.
Common Pitfalls to Avoid
Rushing the job is the number one reason people end up back at the shop. Here are specific mistakes that extend the timeline or cause future failures.
Failing to Bleed Air Pockets: Air trapped in the cooling system creates "hot spots" where coolant doesn’t circulate, leading to localized overheating. If you don’t bleed the system correctly after refilling, you might think the radiator is fine for a week, only to have the engine overheat again. Follow your vehicle’s specific bleeding procedure-some cars require driving up and down hills to dislodge stubborn air bubbles.
Mixing Coolant Types: Not all coolants are compatible. Mixing silicate-based coolants with phosphate-based ones can create a gelatinous sludge that blocks the radiator fins instantly. Check your owner’s manual for the specified type (e.g., OAT, HOAT, IAT). Using the wrong color isn’t always the issue, but using the wrong chemistry is.
Ignoring the Thermostat: While replacing the radiator, it’s highly advisable to replace the thermostat as well. It’s a cheap part (£10-£20) and sits in the same area. If the old thermostat sticks closed, your new radiator won’t matter because the coolant won’t flow through it.
When to Call a Professional
While changing a radiator is a manageable DIY task for many, certain situations warrant calling a pro. If your car requires removing the entire front bumper assembly to access the radiator, the alignment of crash sensors and airbag modules becomes critical. Incorrect reassembly can lead to expensive diagnostic codes or safety issues. Additionally, if you lack the proper lifting equipment for heavier vehicles or don’t have a safe, clean workspace to catch toxic fluids, a garage is the safer option.
Can I drive my car with a leaking radiator?
No, you should not drive with a leaking radiator. Even a small leak reduces the coolant volume needed to absorb engine heat. Driving further can cause the engine to overheat rapidly, leading to warped cylinder heads, blown head gaskets, or complete engine seizure. These repairs cost thousands, far more than a radiator replacement.
How much does it cost to replace a radiator in the UK in 2026?
The total cost typically ranges from £300 to £650 for professional installation, including parts and labor. DIY costs are lower, ranging from £100 to £450 depending on whether you choose OEM or aftermarket parts. Luxury vehicles or those requiring extensive disassembly may exceed £800.
Do I need to replace the water pump when changing the radiator?
It is not strictly mandatory, but it is highly recommended. The water pump circulates the coolant through the radiator. If the pump is nearing the end of its life, it will fail soon after your radiator work, requiring you to pay for labor twice to access the same area. Inspect the pump for leaks during the radiator swap.
How do I know if my radiator is clogged?
A clogged radiator often presents with inconsistent heating (one side of the radiator feels cooler than the other) and persistent overheating despite full coolant levels. You may also notice sludge or rust particles in the coolant reservoir. Flushing the system can sometimes resolve minor clogs, but severe blockages require replacement.
Can I use tap water instead of distilled water for coolant?
In an emergency, yes, but you must flush it out as soon as possible. Tap water contains minerals and impurities that promote corrosion and scale buildup inside the radiator and engine block. Distilled water is preferred because it lacks these contaminants, preserving the integrity of the cooling system components.