
Brake Pad Replacement Cost Calculator
Calculate Your Brake Pad Replacement Cost
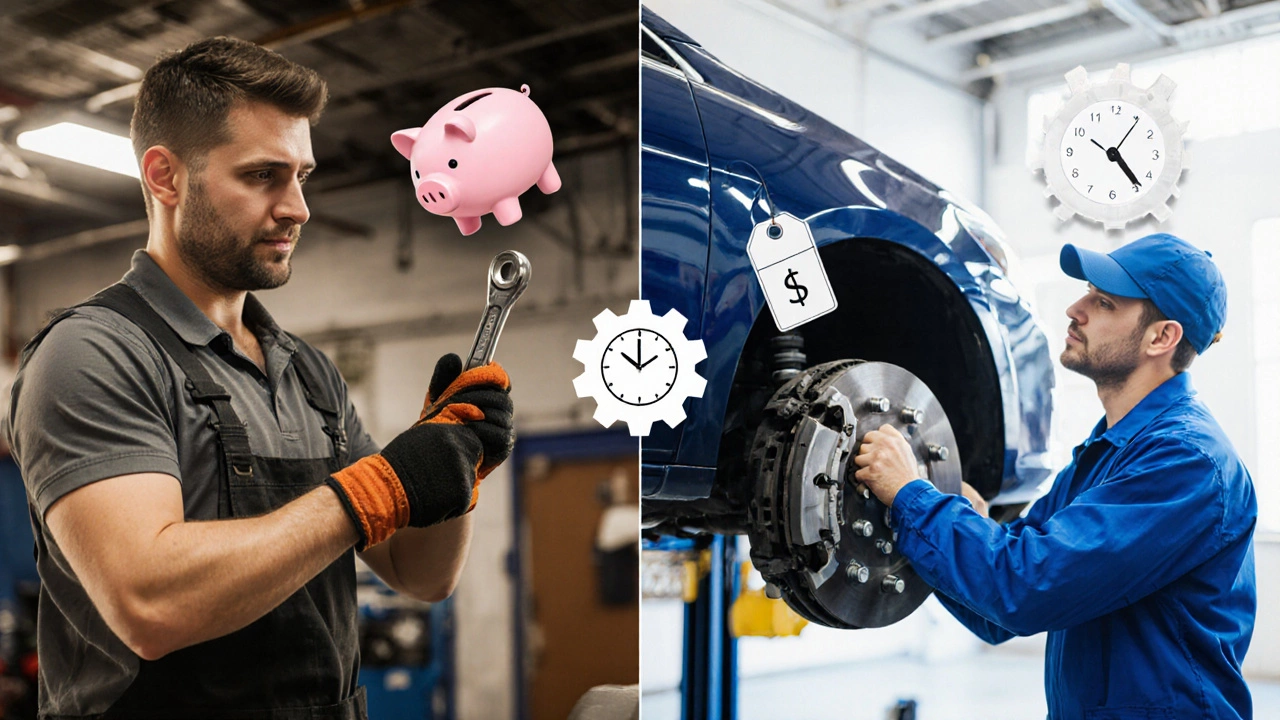
Compare DIY costs against professional service based on your tools and location. Enter your details below to see which option saves you money.
When your car starts squeaking at low speeds, the first thing you wonder is whether a quick shop visit will drain your wallet. The real question is: can you save money by swapping the DIY brake pads yourself? Let’s break down the numbers, the tools, and the steps so you can decide if rolling under the car is worth it.
What brake pads actually do
Brake pads are friction material pieces that press against the brake disc to slow or stop the wheel. They’re made from ceramic, semi‑metallic or organic compounds, each with its own wear rate and feel. When the pads wear down to about 3 mm, the brake pedal feels softer and the squeal gets louder - a clear sign it’s time for a change.
How much does a professional shop charge?
Most UK garages quote a flat rate for a front‑only pad change, ranging from £120 to £180. That price usually includes:
- Labor (about 1-1.5 hours of a qualified mechanic)
- OEM or reputable aftermarket pads
- Basic disposal of old parts
- Inspection of the brake disc and caliper
If you need rear pads or a disc resurfacing, the bill can climb to £250‑£300. Labour rates vary by region; Manchester garages tend to sit near the lower end of that spectrum, but the spread is still significant.
DIY cost breakdown - what you really pay for
Here’s a realistic snapshot of the out‑of‑pocket cost when you go it alone:
| Item | DIY Total | Shop Total |
|---|---|---|
| Brake pads (mid‑range aftermarket) | £45 | £70 |
| Torque wrench (rental or purchase) | £12* (one‑off) | Included |
| Jack & jack‑stands | £20* (one‑off) | Included |
| C‑clamp or piston tool | £8* (one‑off) | Included |
| Brake fluid (if top‑up needed) | £5 | £5 |
| Labor (your time) | £0 | £70‑£110 |
| Total | ~£90 (first job) / £55 (later jobs) | ~£250 |
*Tool costs are a one‑time investment; you’ll amortize them over many future DIY jobs.
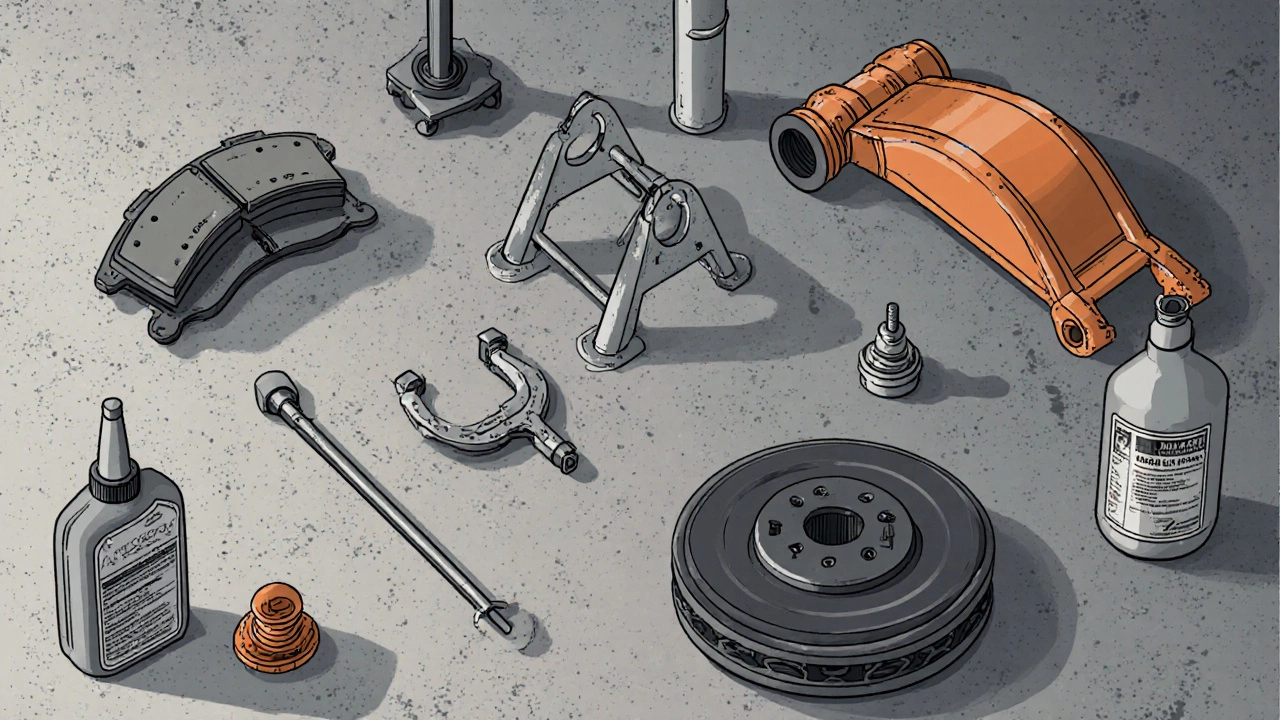
Step‑by‑step guide to changing front brake pads
- Gather your tools: a floor jack, jack‑stands, a compatible torque wrench ensures bolts are tightened to manufacturer spec, a C‑clamp or piston press, a socket set, and safety gloves.
- Loosen the front wheel lug nuts while the car is still on the ground.
- Jack up the front of the car and secure it on jack‑stands. Remove the wheel.
- Locate the brake caliper holds the pads and pistons. Remove the caliper mounting bolts (usually 12 mm).
- Slide the caliper off the brake disc the rotating metal surface the pads clamp onto. Support it with a hanger; do NOT let it dangle by the brake line.
- Take out the old pads. Note any clips or shims - you’ll reuse them.
- If the pistons are stuck, use a C‑clamp to gently push them back into the caliper housing. This creates space for the new, thicker pads.
- Compress the brake fluid hydraulic fluid that transmits pedal pressure reservoir cap and check the fluid level. Top up if needed.
- Install the new pads, making sure any wear indicators face the correct direction.
- Re‑mount the caliper over the disc, bolt it back with the torque wrench to the vehicle’s specified value (usually around 80 Nm for many UK models).
- Re‑fit the wheel, lower the car, and torque the lug nuts in a star pattern.
- Before you drive off, pump the brake pedal a few times to seat the pistons and listen for any abnormal noises.
That’s it. A typical DIY job takes about 1 hour for someone comfortable on a ladder. Newbies might need 1.5-2 hours, but the learning curve drops quickly.
Pros and cons of doing it yourself
| Aspect | DIY | Professional |
|---|---|---|
| Cost | Up to 70% cheaper after tools are bought | Higher due to labor |
| Time | 1-2 hours plus prep | Usually 30‑45 minutes on‑site |
| Safety | Depends on your skill level and tools | Certified technicians, warranty |
| Learning | Gains valuable car‑maintenance knowledge | No hands‑on experience |
| Tool investment | Initial purchase, reusable for future jobs | None needed |
Money‑saving tips & safety reminders
- If you already own a jack, use it - buying a cheap floor jack can cost as little as £30.
- Shop for brake pads at reputable online retailers; bulk packs often come with a 10% discount.
- Check local junkyards for used, still‑good discs if you need to replace them - saves up to £40 per disc.
- Never reuse a cracked or excessively worn brake wear sensor alerts you when pads are near the end of life. Replace it with the new pads.
- Always work on a flat, stable surface. Engage the parking brake and chock the opposite wheels.
- After the job, do a short test drive at low speed. Feel for any pulsation or pulling to one side - that indicates a mis‑aligned caliper.
Quick DIY brake‑pad checklist
- New brake pads (correct fit for make/model)
- Floor jack and jack‑stands
- Torque wrench (12‑14 mm socket set)
- C‑clamp or piston press
- Brake fluid (DOT 4 recommended)
- Safety glasses and gloves
- Owner’s manual - torque specs and pad type
Frequently Asked Questions
How often should brake pads be replaced?
Most manufacturers recommend checking pads every 10,000 km and replacing them once the friction material is down to 3 mm. In normal city driving, that’s usually every 30‑40 k miles.
Do I need to replace the brake disc at the same time?
Not always. Measure the disc thickness; if it’s above the minimum spec (often 1.5 mm above the hub), you can keep it. Look for deep scoring or warping - those signs mean a replacement.
Can I reuse the old caliper bolts?
Generally yes, as long as they’re not stretched, rusted, or damaged. If they look worn, replace them - a cheap set costs under £5 and avoids future headaches.
What’s the biggest safety risk when doing it myself?
Improper torque on the caliper bolts or forgetting to fully retract the pistons can cause uneven pad wear or brake fade. Using a torque wrench and double‑checking the piston position eliminates most of that risk.
Will DIY affect my car’s warranty?
If you keep receipts for genuine parts and follow the manufacturer’s service procedure, most UK warranties remain valid. Always log the work in your service book.