Many car owners find themselves puzzled when it comes to the time required to replace a clutch kit. This essential component of your vehicle's transmission ensures smooth power delivery from the engine to the wheels. But, over time, the clutch can wear out, necessitating a replacement.
Tackling this task is no small feat as it involves meticulous labor and an understanding of the vehicle's mechanics. However, knowing what it entails can prepare you for the journey ahead, whether you're a DIY enthusiast or prefer entrusting your car to a professional.
- Understanding Clutch Kit Components
- Factors Affecting Replacement Time
- Step-by-Step Process
- Tips for Choosing the Right Mechanic
Understanding Clutch Kit Components
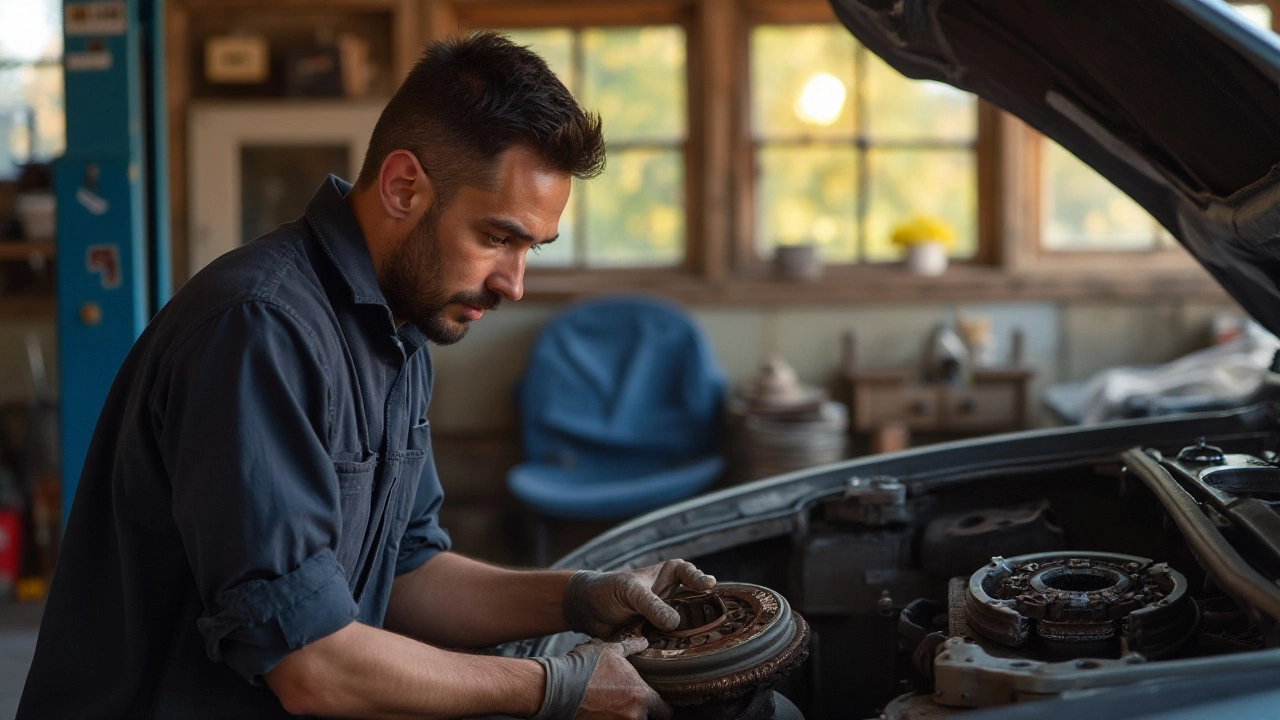
A clutch kit is an assembly of components that work together to connect and disconnect the engine from the transmission system in manual vehicles. This complex mechanism ensures that the vehicle starts smoothly and shifts gears without causing damage to the engine. The primary pieces within a standard clutch kit include the clutch disc, pressure plate, and release bearing, each playing a pivotal role. Understanding these parts can help car owners appreciate the time and effort required for clutch replacement.
The clutch disc, often considered the heart of the kit, is a metal friction disc attached to the transmission’s input shaft. It experiences significant wear and tear as it presses against the flywheel when the engine spins. This contact is what translates engine power into rotational motion, propelling the car forward. Over time, the friction material on the disc wears down, reducing its efficiency and making replacement necessary.
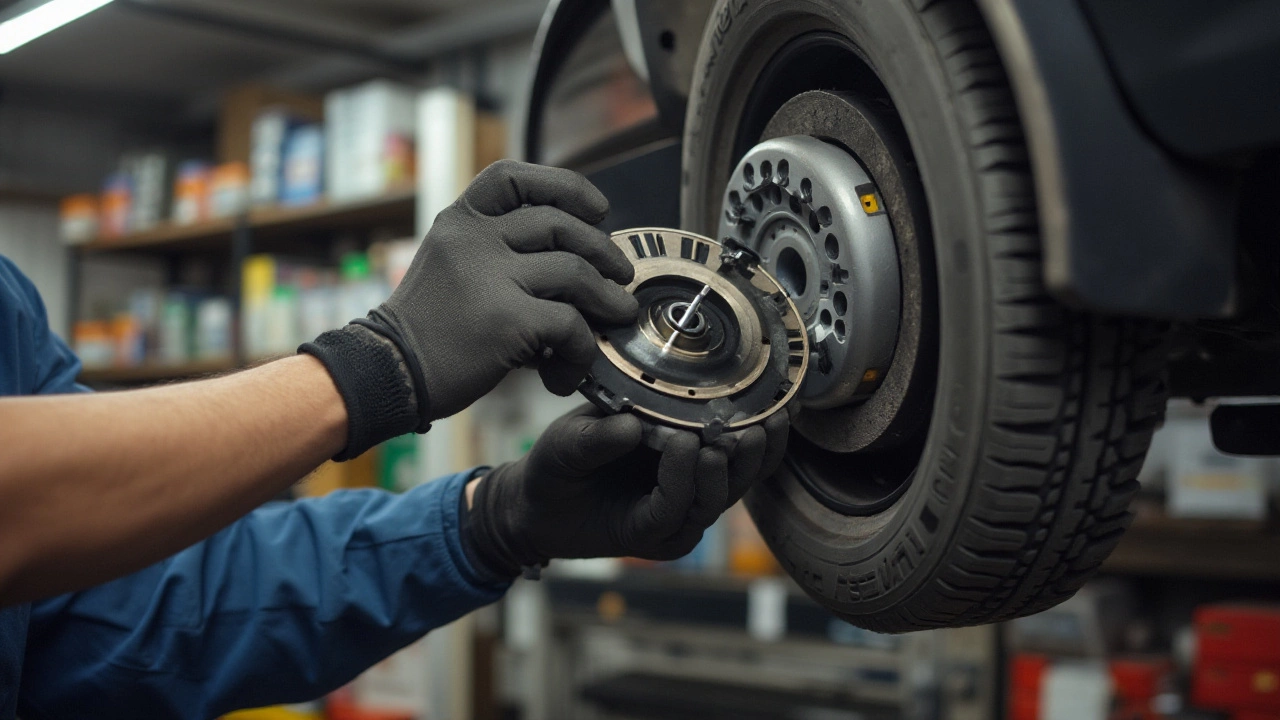
Equally important is the pressure plate, which holds the clutch disc firmly against the flywheel. Acting at the command of the driver’s clutch pedal, the pressure plate releases the disc, allowing drivers to change gears. Its robust design can endure high stress, yet factors like heat and stress can lead it to weaken or fail. Such a situation often results in a slipping clutch, famous for its distinct burning odor and a feeling of grabbing within gear shifts.
"Regular inspection and timely replacement of worn components are essential to prevent further damage and maintain smooth vehicle operation," emphasizes Dr. Henry T. Quinton, an esteemed automotive engineer.
Besides the clutch disc and pressure plate, the release bearing, also known as the throw-out bearing, plays a crucial part in the disengagement process. When you press the clutch pedal, it uses hydraulic or cable force to push against the pressure plate’s diaphragm spring, allowing free movement of the clutch disc. While smaller in size compared to other components, an underperforming release bearing can signal its failure through telltale noises like screeches and squeals — certainly something you don't want to ignore.
Many modern clutch kits now include a flywheel, which although durable, sometimes requires replacement alongside these other components due to damage caused by heat spots or warping. While it's initially optional in standard kits, mechanics and manufacturers are advocating for its inclusion during a car repairs to mitigate future problems. Vehicles with dual-mass flywheels, often found in diesel or high-torque petrol engines, demand special attention due to their more intricate designs and higher replacement costs.
One can view the interconnectedness of these components akin to a finely tuned orchestra, where every piece works in harmony to ensure a vehicle's optimal functioning. Should one fail, the system loses its rhythm, impacting driving quality and safety. Grasping the nuances of each element encourages automotive enthusiasts and everyday drivers to appreciate the intricacies of the vehicle maintenance journey. To maintain performance and avoid the inconvenience of unexpected breakdowns, understanding and acting on the signs of wear in these crucial components is vital.
Factors Affecting Replacement Time
When considering a clutch replacement, one might naturally wonder how much time will be needed for the task. Various elements come into play, making each situation unique. First and foremost, the make and model of the vehicle significantly influence the timeframe. Cars from renowned brands with complex engineering might demand more dismantling, whereas some simpler models could allow for quicker access to the clutch. It’s worth noting that specialist vehicles or classic cars might even require special tools or expertise, further extending replacement time.
The condition of the vehicle is equally important. A car that has been well-maintained over the years will generally result in a smoother and faster replacement process compared to one that's seen better days. Rusty parts and worn-out components could lead to unexpected complications, necessitating extra labor which adds to the clock. On the flip side, regularly serviced vehicles with well-preserved components often mean less hassle during the clutch kit change.
"The time it takes to replace a clutch can vary significantly depending on the vehicle's design and the mechanic's experience," according to Auto Repair Network.
The expertise of the mechanic is another major factor. Experienced mechanics who are familiar with the nuances of specific vehicles can work more efficiently and handle any curveballs that come their way. For those who prefer the DIY route, skill level and access to proper tools will also dictate how quickly the job gets done. Meanwhile, delays in parts availability, especially for rare or older models, might stretch out the timeline unexpectedly.
Lastly, consider the environment in which the repair takes place. A professional garage with a dedicated lift and all the necessary equipment allows for a streamlined process. Contrast this with a DIY setup in a home garage where each step might demand more time and effort. Weather conditions can also inadvertently affect the process, especially in areas with extreme temperatures that might not be conducive to garage work. Each of these aspects, from vehicle specifics to mechanic expertise, interplays to determine the time needed for a successful clutch kit replacement.
Step-by-Step Process
Replacing a clutch kit isn't your average garage gig, and requires a handful of hours from start to finish, usually around 4 to 8 hours depending on the car model and mechanic's experience. The process requires a blend of patience, precision, and a touch of mechanical prowess. If you're attempting this at home or simply curious about what goes on under the hood, start by preparing your vehicle and workspace. Ensure all the necessary tools and your new clutch replacement kit are within reach to streamline the process. It's essential to have the vehicle lifted securely, giving you adequate room to work underneath.
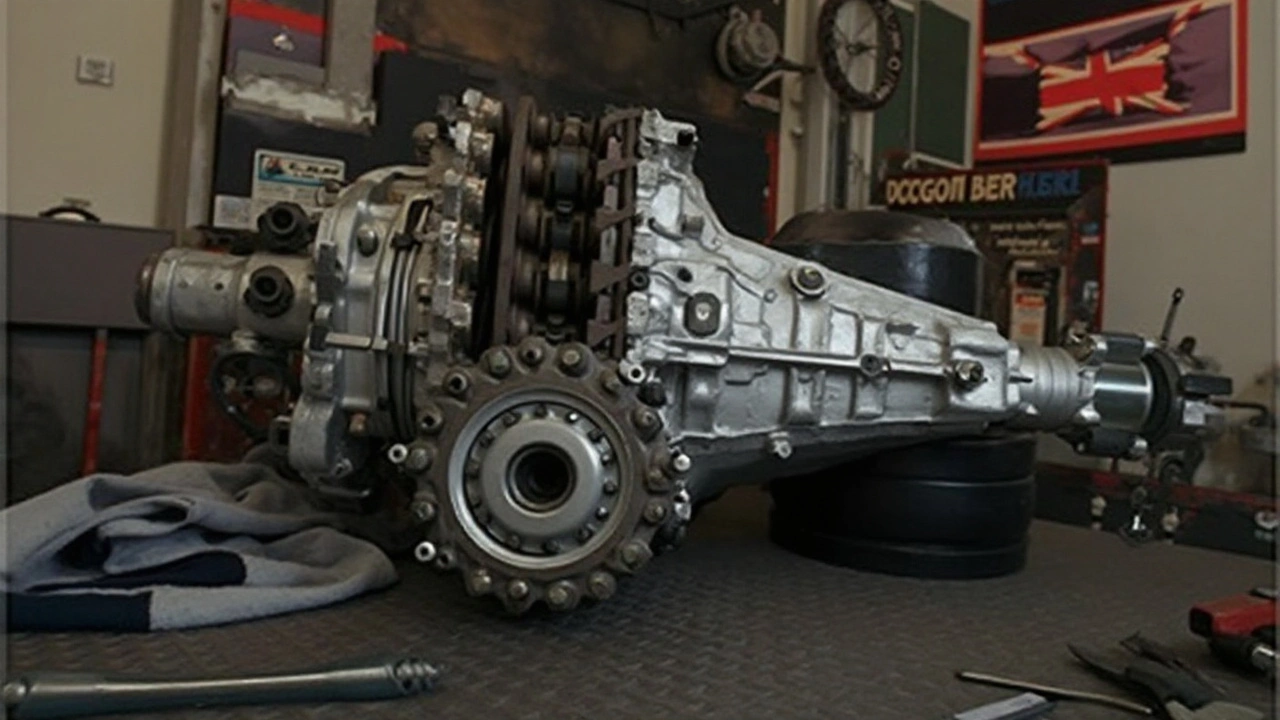
Diving into the raw mechanics, loosen and remove the negative battery cable first to prevent electrical mishaps. Next, tackle the removal of the transmission system, as accessing the clutch is typically impossible while it's in place. Detach related components such as the starter motor, driveshafts, and any nearby hardware obstructing the transmission's path. Documenting each step by step removal stage with photos or notes can aid during the reassembly, which is often considered the trickiest part.
With the transmission now gently resting out of its home, the next phase is unbolting the clutch pressure plate. As you ease it away from the flywheel, ensure the flywheel surface isn't marred with excessive wear or damage; resurfacing or replacement might be required. Carefully align your fresh clutch disc and pressure plate onto the flywheel, installing the new components in the reverse order of the removal. To affirm accuracy, a torque wrench is invaluable for securing bolts to their precise specifications.
As you reach the final lap of this car repair, bring a new pilot bearing and release bearing into the fray. Once all components are nestled in their new home, revisit each bolt to confirm snugness but with an awareness of the manufacturer's guidelines to avoid overtightening. The reinstallation journey continues with sliding the transmission back to its designated spot. Keep an ear out for any unusual clicks or resistances, indicating potential misalignment issues that could spell trouble.
Before declaring victory, reattach the driveshafts, starter, and any peripheral gadgets that were given a temporary hiatus. Lastly, reconnect the negative battery cable, lower your vehicle back to terraland, and fire up the engine.
"It's always enriching to see a project come full circle, especially one that could breathe a fresh lease of life into your trusty vehicle," remarked seasoned mechanic James O'Neal in a recent interview.
This optimistic note draws to a close the vehicle maintenance adventure, celebrating the blend of meticulous effort and eventual satisfaction. Knowing the heartbeats of this process not only enhances your confidence but also saves valuable mechanic hours from being unnecessarily inflated.
Tips for Choosing the Right Mechanic
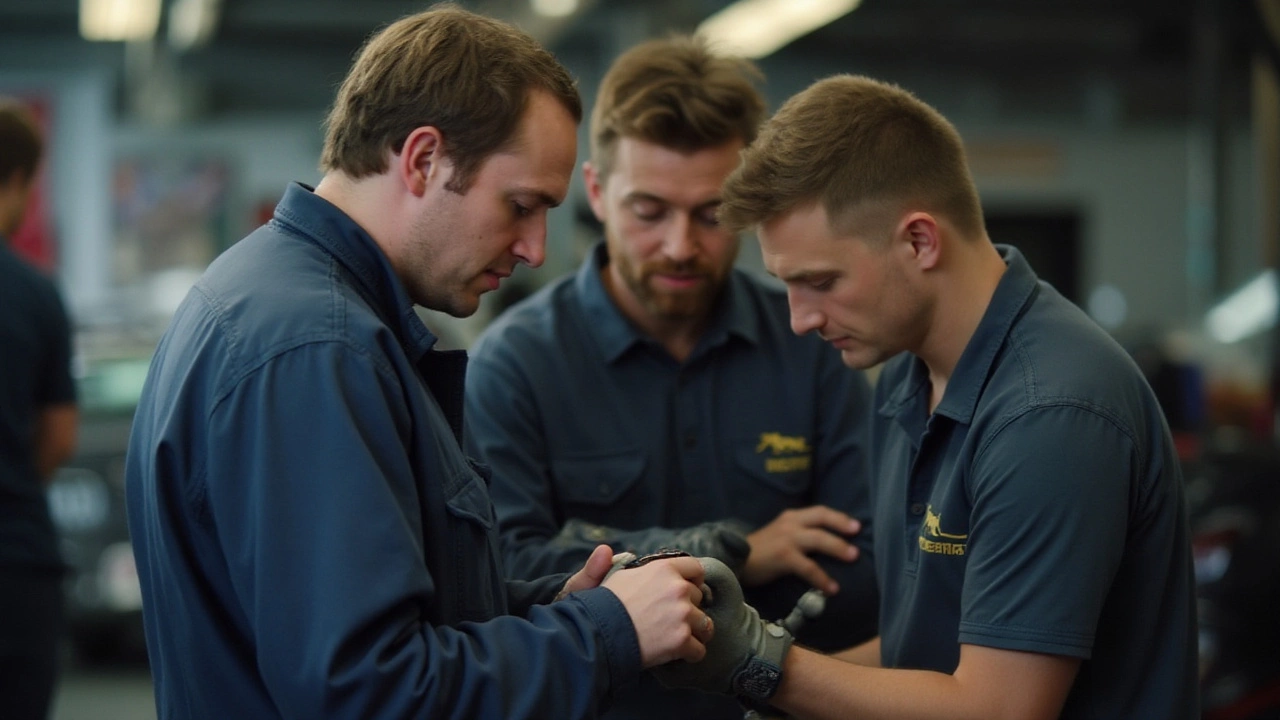
Finding a reliable mechanic to handle your clutch replacement can sometimes feel as daunting as the repair itself. It's crucial to be informed and discerning in your decision-making. Start by researching the mechanics in your local area, paying close attention to customer reviews. With scores of opinions available across various platforms, you quickly get a sense of a mechanic's reputation. Look for comments specifically mentioning experiences with clutch repairs, as these insights can be particularly telling about their expertise in such tasks.
After narrowing down your options, consider visiting the shops beforehand. This visit isn't only to meet the mechanics but also to observe the workspace. A professional and organized setup can often reflect the kind of service you might expect. Engage them in conversation about their experience with clutch installations. It's beneficial to ask them about the typical time frame they require for a job as complex as a clutch kit replacement. A seasoned mechanic will confidently outline the process and provide a realistic estimate. It's equally important that they are transparent about their pricing—watch for those who might offer unusually low estimates as it could be a red flag.
"A mechanic's integrity is as important as their skill. A good mechanic will take the time to explain and educate their clients," advises James May, an automotive expert known for his informative car guides.
Car repairs, especially something as vital as a clutch replacement, can be significant undertakings. Consider asking the mechanic about the types of replacement parts they use. Do they rely on manufacturer-supplied parts, or do they suggest high-quality aftermarket alternatives? Ensuring they use reliable components can save you the headache of future problems. Don’t shy away from discussing warranties or guarantees on both the parts provided and the work undertaken. Assurance in these areas can translate to peace of mind long after the car leaves the shop.
Finally, word of mouth remains a powerful tool. If you know friends or family members who have undergone a clutch replacement, ask about their experiences and recommendations. There's a certain comfort in trusting mechanics who have already proved their worth to someone you know. This combined approach—thorough research, transparent dialogue, shop inspection, and recommendations from trusted sources—equips you to choose the right mechanic confidently. By prioritizing these steps, not only do you secure competent assistance, but you also invest in longer-lasting vehicle health and safety.