
Not sure if your radiators are really pulling their weight? Here’s the thing—whether in your car or your home, radiators can quietly develop problems for years before they make a fuss. A single neglected radiator can hike up your energy bills, leave cold spots in your house, or, if it’s your car, push your engine to its limits. So, are your radiators doing their job, or are they silently draining your wallet?
Why Radiator Health Really Matters—and Signs You Should Check
Everyone notices when a radiator springs a leak and leaves a nice puddle under your car or stains on your wall. But most radiator issues don’t announce themselves so loudly. A sluggish home radiator might leave your toes icy on winter mornings, and a struggling car radiator could quietly set you up for a nasty breakdown on the hottest day of the year. Surprisingly, according to the Energy Saving Trust, heating accounts for more than half of home energy bills in the UK—meaning an underperforming radiator literally burns money.
But how do you know when to worry? Here are a few telltale signs:
- Uneven heating (one room feels antarctic, the other’s a sauna)
- Strange noises (think clunking, gurgling, or knocking)
- Visible rust, discoloured patches, or water marks
- Cool areas on your radiator’s surface (for home radiators, a classic sign of trapped air or sludge)
- For cars: temperature gauge swinging higher than usual, visible steam, or that sweet-odd smell under the hood
Left unchecked, minor radiator issues can snowball into big repairs or total replacements. Don’t wait for a disaster—being proactive pays off.
Tools and Prep: What You Need to DIY a Radiator Inspection
You don’t need fancy gear to check radiators—just sharp eyes, a bit of patience, and a few basic tools most folks have lying around. For home radiators, a radiator key (for bleeding air), a soft cloth, a bucket or tray, and perhaps a towel for any drips is enough. If you’re checking a car radiator, grab a pair of gloves, safety glasses (coolant can splash), a flashlight, and a flathead screwdriver. A digital thermometer isn’t a must, but it’s a handy bonus if you want to get nerdy with temperature checks.
- Radiator key: for releasing trapped air in home systems
- Gloves:
- Bucket/tray:
- Towel:
- Flashlight:
- Digital thermometer:
Pro tip: For home systems, always check the boiler’s pressure before and after bleeding radiators. If the pressure drops too low, you’ll want to top it up per manufacturer instructions. And with cars, only ever check the radiator when the engine is stone cold—hot coolant is dangerous stuff.
What about radiator materials? Most modern models are steel, but older homes might have cast iron beasts. Cast iron radiators can last ages but are notorious for internal rust and sludge—don’t expect them to be maintenance-free. Most problems trace back to neglect, not bad luck.
Step-by-Step: How to Check Home Radiators
Ready to roll up your sleeves? Here’s how to know if your home radiators are acting up—and what you can do:
- Turn on your heating. Get all zones nice and hot before you inspect. That way you can feel for temperature differences.
- Feel the radiator from top to bottom. It should be evenly hot. Cold at the top, hot at the bottom? You’ve got trapped air: time to bleed. Hot at the top, cold at the bottom? Sludge buildup—think about flushing the system.
- Listen for sounds. Gurgling is classic trapped air, while banging or knocking could mean pipes expanding or high-pressure water slamming through the system.
- Look for leaks. Scan pipe joints, valves, and under the radiator for drips or patches of rust.
- Bleed if needed. Stick a proper radiator key in the bleed valve (usually top corner), twist slowly, and listen for that hissing escape of air. When water dribbles out, you’re done.
- Check your boiler pressure. After bleeding, glance at the boiler’s pressure gauge. Topping up is usually just a matter of opening the filling loop for a moment, but always stick to your manual.
- Watch your energy bills. According to a Which? survey, regular radiator care can slice up to 10% off your heating costs over winter. Imagine that over ten years.
See any black sludge or really brown water when you bleed? That’s called magnetite, and it means there’s internal corrosion—long term, you could need a professional flush or maybe a magnetic filter installed. Worth it if you want your radiators to last another decade.
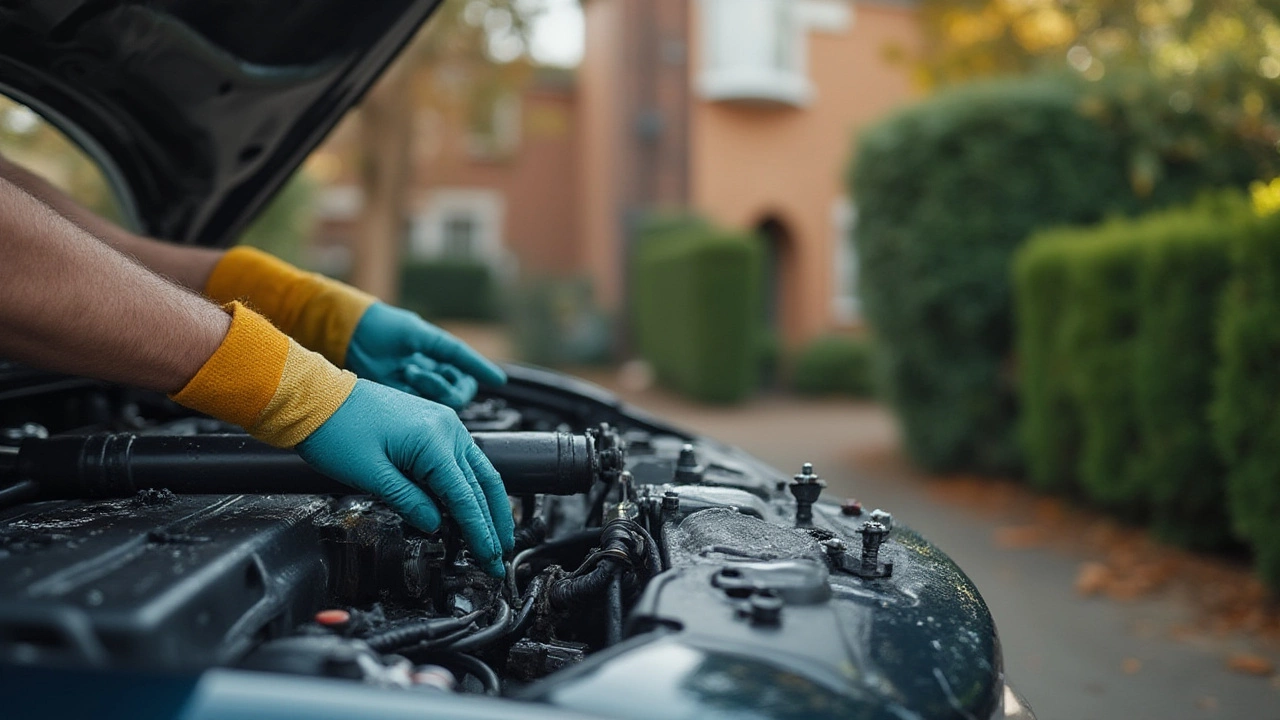
Checking a Car Radiator—Stay Cool on the Road
Car radiators have an even tougher job: keeping engines from turning into glowing puddles of metal under your hood. Regular checks stop breakdowns dead in their tracks. This is worth keeping in mind, considering the RAC says that cooling system issues cause about a fifth of vehicle breakdowns in the UK every year.
- Let the engine cool totally. Never open the radiator cap while hot! Wait until it’s safe to touch.
- Open the bonnet and locate the radiator. Usually at the very front, behind the grille. Spot the filler cap and the often-transparent overflow reservoir.
- Check the coolant level. The level should sit between the ‘min’ and ‘max’ marks. If it’s low, top up with premixed coolant (never just plain water—modern engines need the real stuff).
- Look at coolant color. Healthy coolant is usually green, blue, orange, or pink and fairly transparent. Brown, sludgy, or oily appearance? Could be internal corrosion or, worse, a gasket issue—worth getting it looked at quickly.
- Inspect for leaks. Scan hoses, radiator seams, and under the car for crusty white marks (dried coolant), wet spots, or steam residue.
- Check the cap. The radiator cap is more complicated than it looks—a faulty cap won’t keep the system sealed, risking overheating. If you see damaged rubber or rust, swap it out.
- Watch temperature behaviour behind the wheel. If your dashboard gauge keeps flirting with the red zone or you smell sweet syrup from under the bonnet, pull over—overheating can destroy an engine fast.
If you want to go the extra mile, a digital thermometer can check inlet and outlet temps on the radiator for big differences, showing blockages or flow issues. And if your car’s more than a few years old, a mechanic can do a coolant system flush for about £50–£100, helping ward off expensive trouble.
Common Issues and When to Call in a Pro
DIY checks can catch a lot, but not everything. Here’s what tends to go wrong with radiators, and when to quit while you’re ahead:
- Corrosion: Orange or brown streaks, especially at pipe joints or seams? You’re seeing rust leaking out—time for a pro opinion.
- Sludge:
- Visible cracks or splits:
- Constant loss of pressure:
- For cars: milky residue under the radiator cap:
- System water that smells strongly or looks oily:
Complex problems like these probably need a professional’s touch, especially if you risk voiding warranties by tinkering with newer systems. According to Auto Express, replacing a car radiator in the UK costs about £150 to £400 for common models—cheaper than a whole engine, but best avoided if you can.
“Proper radiator care is one of the most cost-effective ways to prevent catastrophic failures, whether you’re heating your home or keeping your car on the road.” — Mark Lewis, Chief Technician, RAC
Don’t forget—regular servicing (boilers, central heating, or car cooling systems) can stretch lifespans and gives you peace of mind year-round. And if you’ve spotted a recurring leak or corrosion patch more than once? Book a professional before it turns ugly.
Handy Radiator Fact Sheet and DIY Maintenance Table
If you like seeing things in black and white, here’s a quick cheat sheet for how often you should be checking and maintaining radiators, both at home and in your car.
| Check | Home Radiators | Car Radiators |
|---|---|---|
| Physical Inspection | Twice a year (before/after heating season) | Monthly, and before long trips |
| Bleeding/air removal | When cold spots/noises appear | N/A |
| System flush | Every 5 years or as issues arise | Every 2 years or per manufacturer |
| Check for leaks | Twice a year/noise or stains | Monthly |
| Professional servicing | Annually | Every 2 years |
Little habits go a long way. Whether you’re tackling the radiators in your house or squeezing a few more years from your car, the biggest secret is just being nosey once in a while. Touch, listen, watch—and don’t panic at the first sign of trouble. Most radiator problems start small, and with a bit of DIY savvy (plus help when things get out of hand), you’ll keep your heating and your engine running smoothly for years to come.